How to Add/Create a New User in Moab
Last updated: October 15, 2026
Prerequisites:
Before creating a user account, confirm the following:
The person creating the account has the Admin role. Only Admins can create users, assign roles, and create custom roles.
User roles can be assigned globally (every location) or scoped to one branch, so decide which applies before starting.
Related Videos:
Watch Now: Creating a New User in Moab
Watch Now: Assign Branch-Level Roles for Users
Step-by-Step: Creating the User
Open the Users page
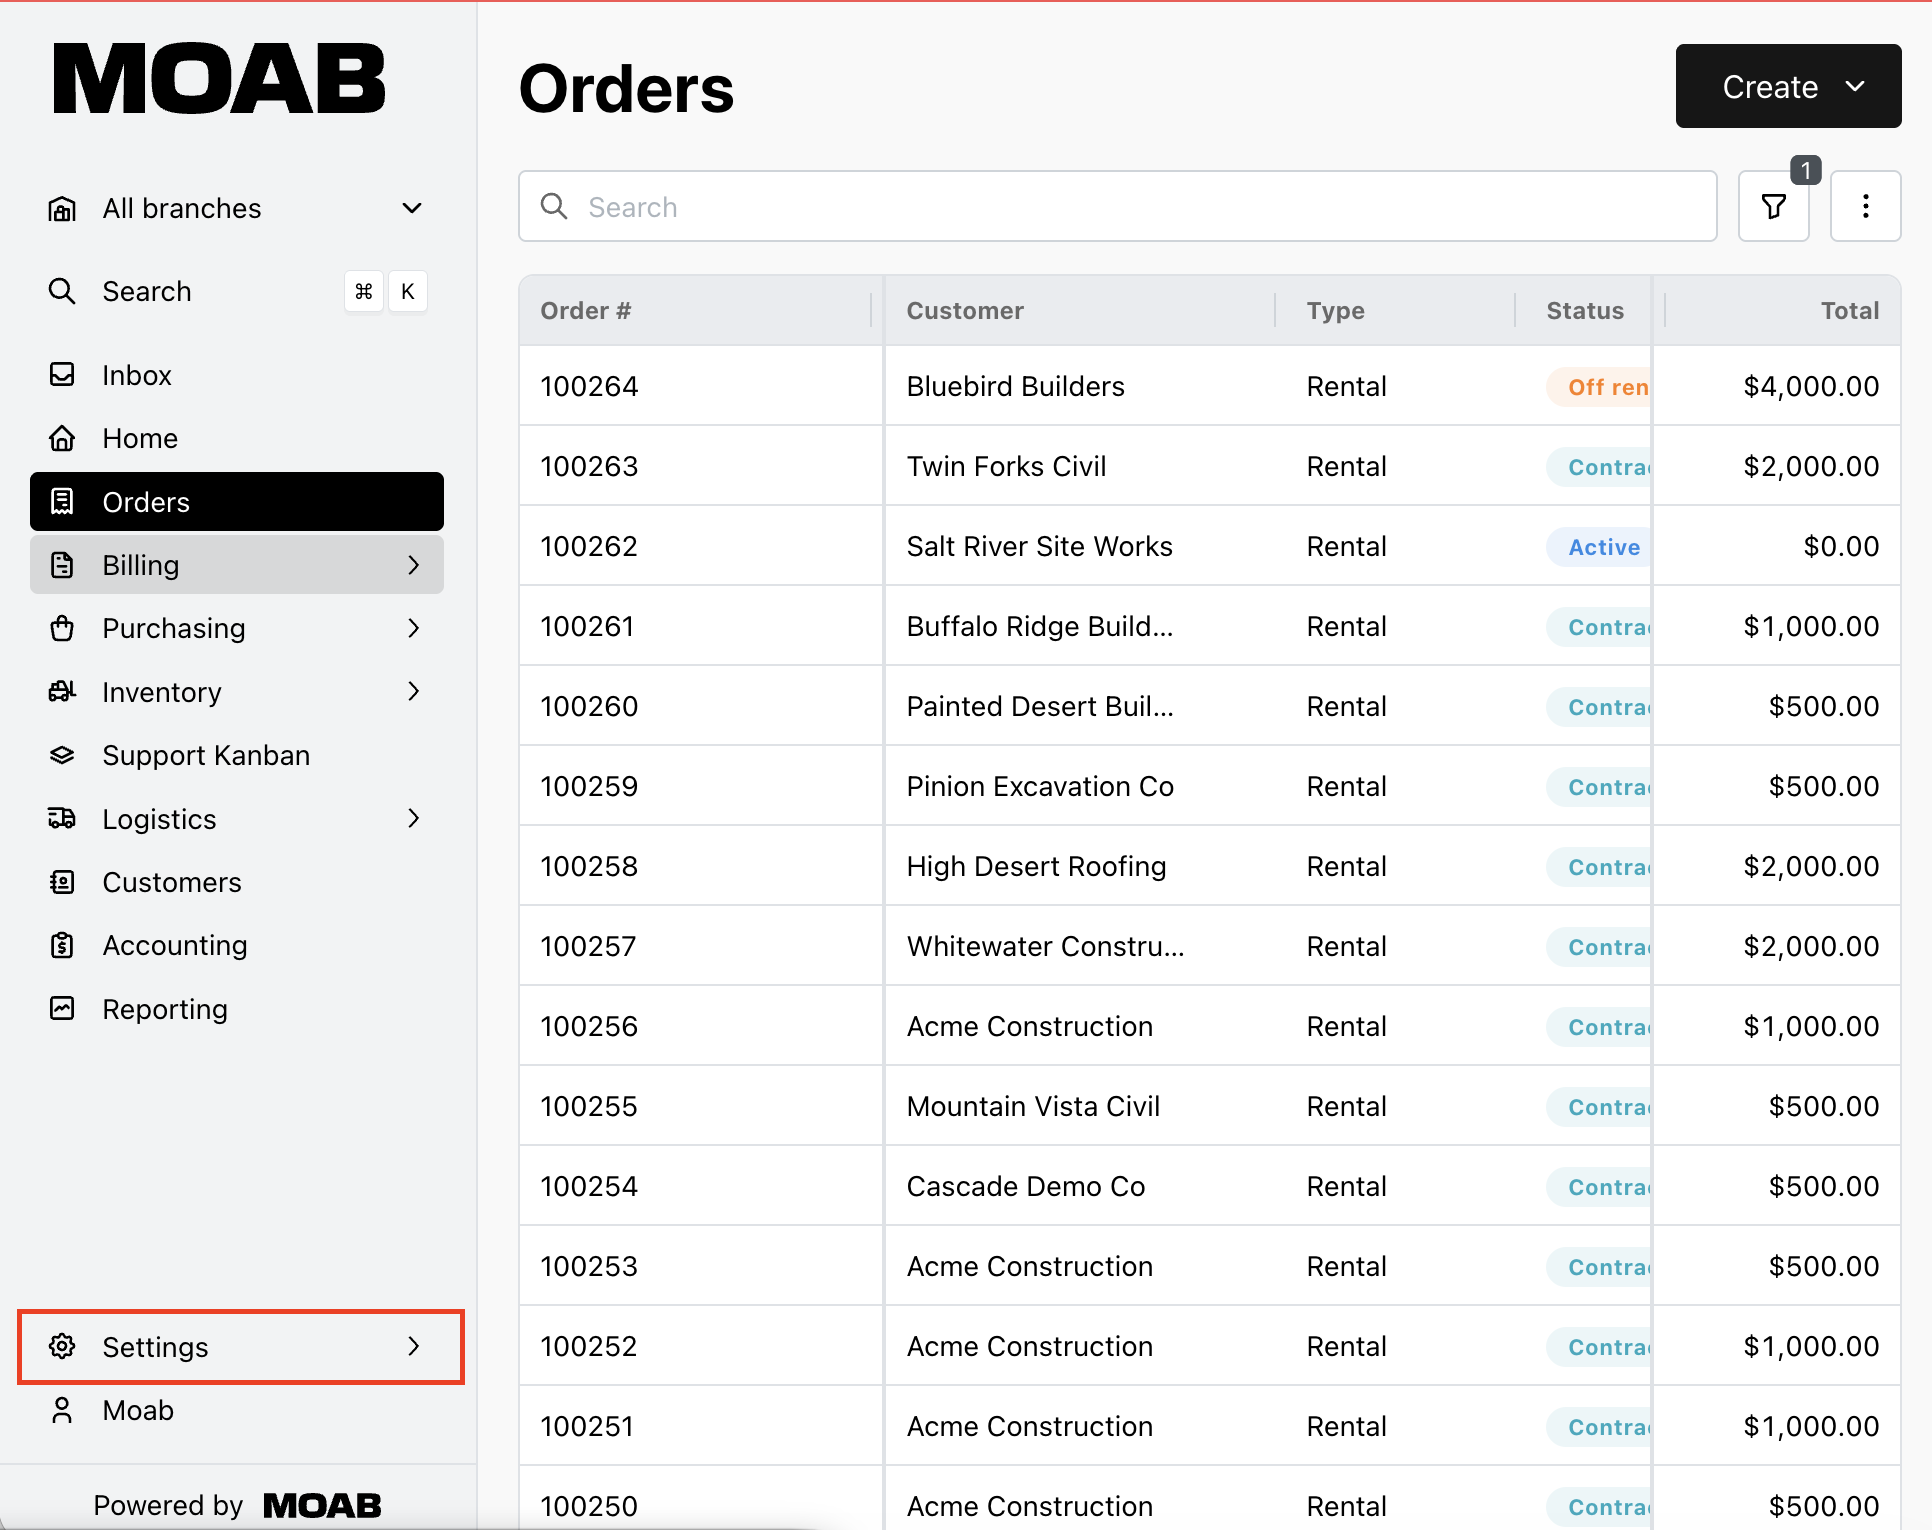
Click Settings in the left sidebar.
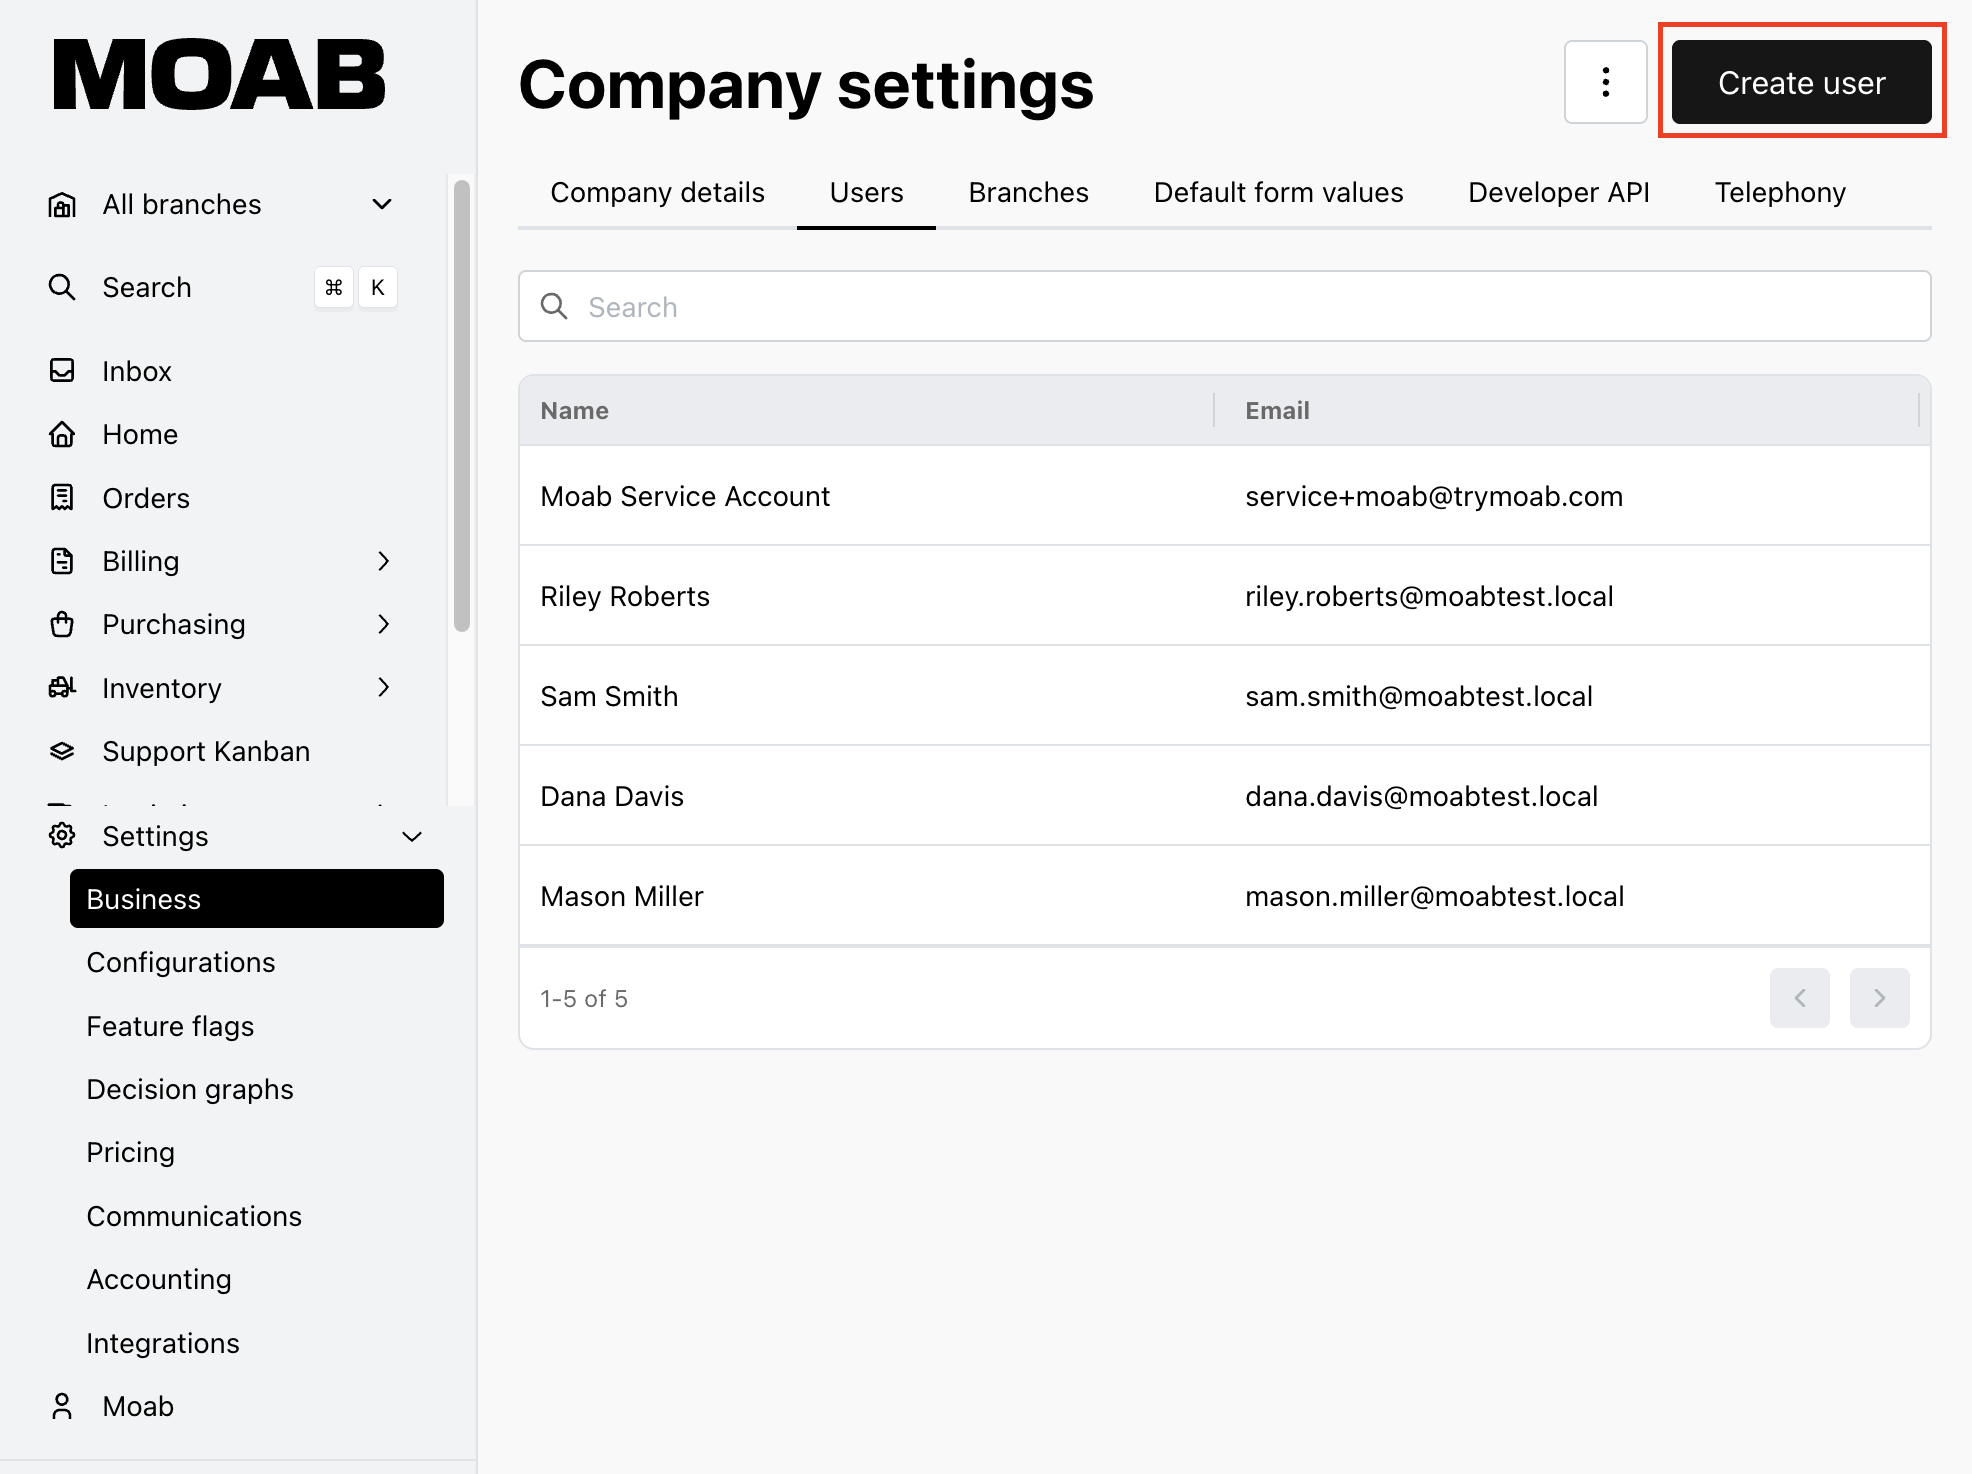
Select Business. Then, open the Users tab. The page lists every active user in the business.
Start a new user
Click Create user in the upper right of the Users page. The Create user panel opens.
Enter the user’s details
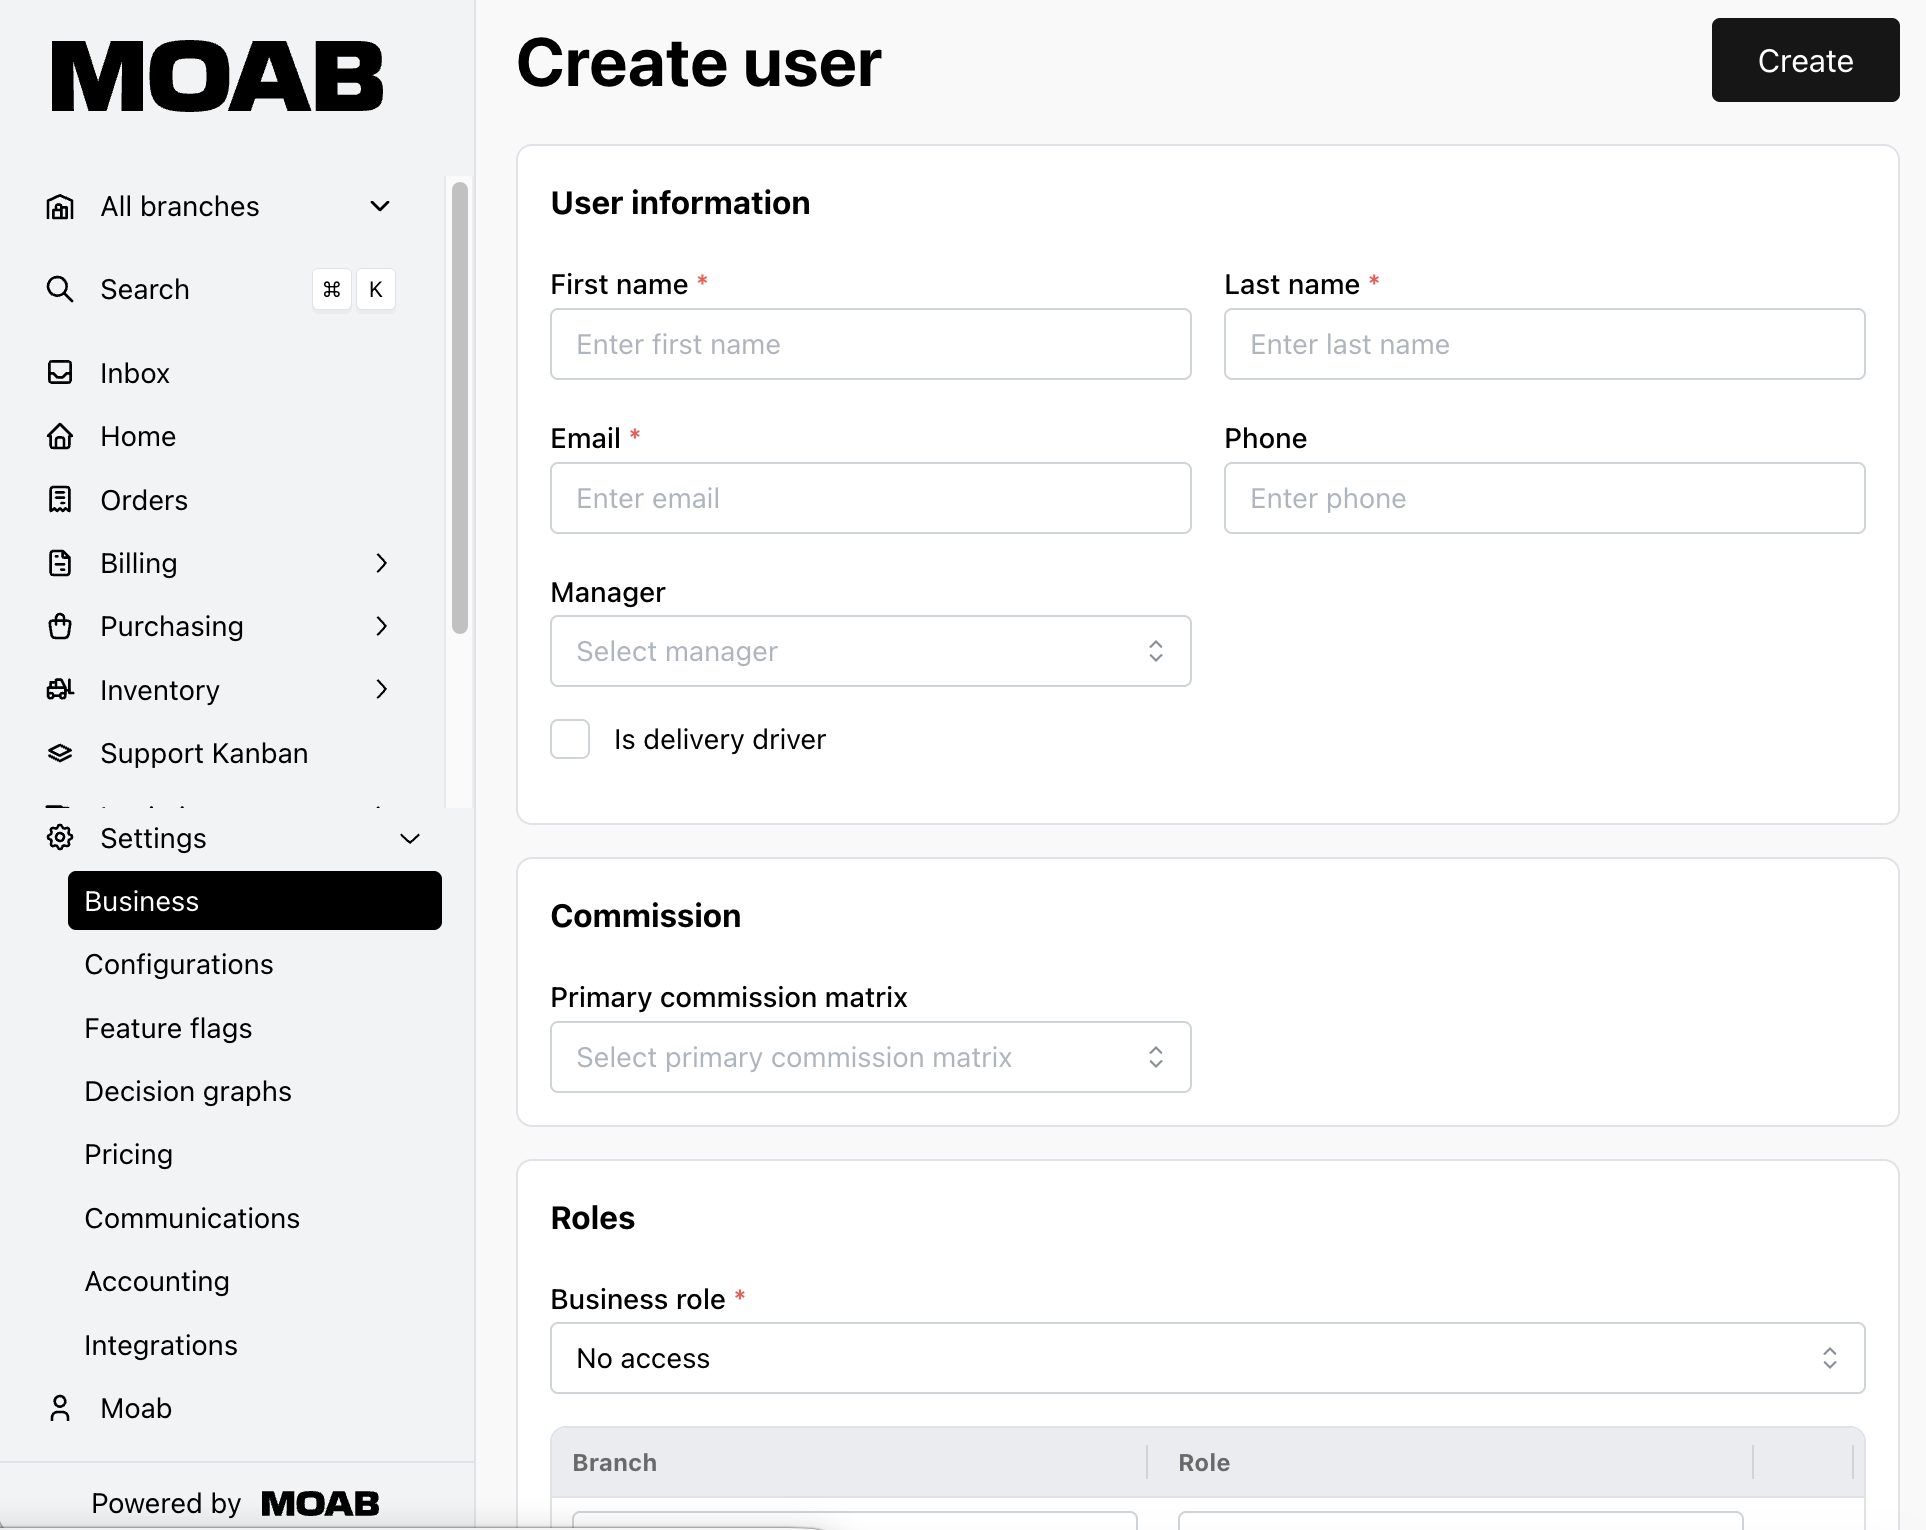
Fill in the fields in the panel:
Field | What to Enter |
First name / Last name | The user’s name as it should appear on orders, routes, and activity logs |
The user’s work email address. This is the sign-in identity and must be unique | |
Phone | Optional. Used for text notifications and for the user’s contact details on documents |
Manager | Optional. The user’s supervisor in Moab, used for approval routing |
Delivery driver | Turn on if the user will be assigned to routes in Dispatch and should appear in driver pickers |
Commission matrix | Optional. The primary (and secondary, if used) commission matrix applied to the user’s sales |
Telematics/Samsara driver ID | Optional. The driver ID from the telematics provider, if the business links drivers to vehicle data |
Custom fields | Any business-specific user fields configured under Settings |
Assign roles
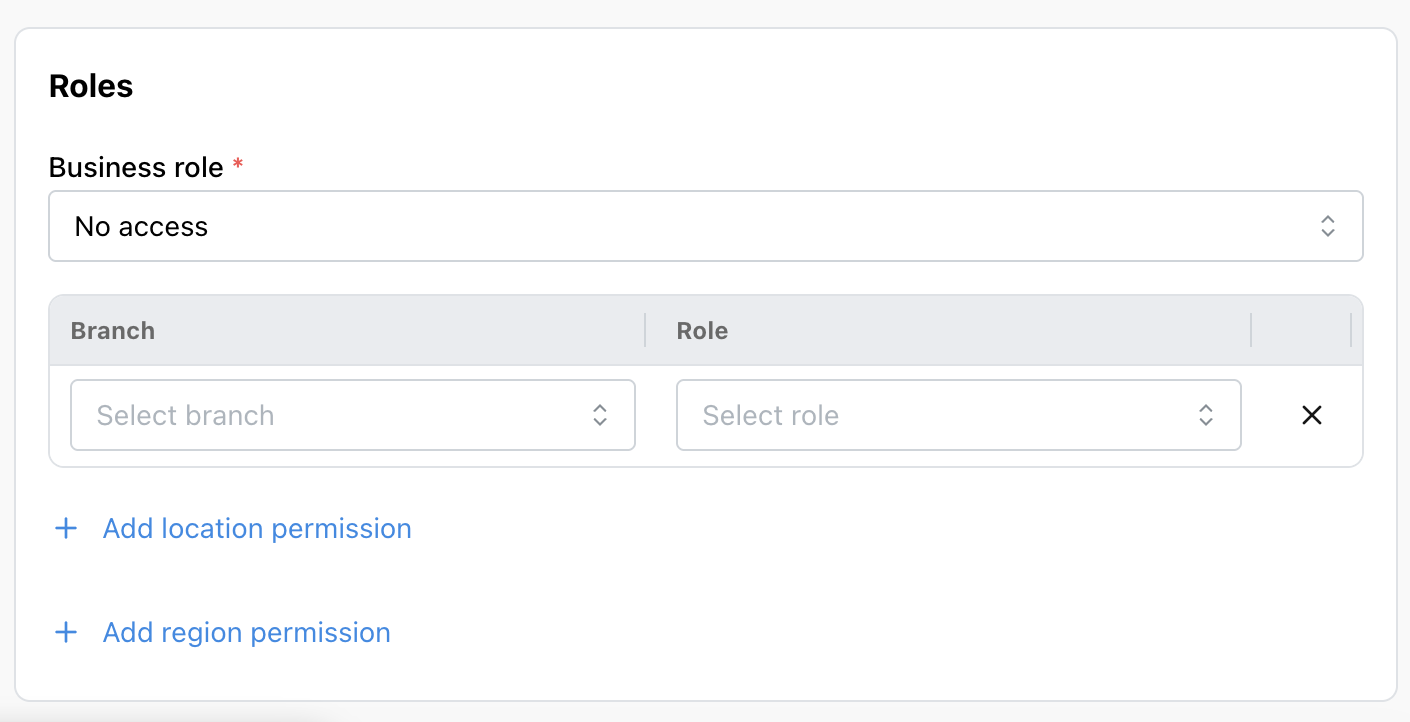
In the Roles section, add at least one role. For each role, choose the role name (Admin, Manager, Driver, or a custom role) to apply the role at globally, or choose a specific branch or location group to limit it. A user can hold different roles at different branches, so add more rows as needed.
Save the user
Click Create.